
Does your Mac resemble an absent-minded professor’s office with files and folders strewn hither and thither? Is getting to the right spot to open or save a file become slow and clumsy. In an ideal world, you’d organize everything perfectly, but you’d also be flossing once a day, calling your mother twice a week, and working out 3+ times/week. So let’s talk about a shortcut that lets you put off that big reorg for another day: the sidebar that graces every Finder window and Open/Save dialog.
First, make sure it’s showing. In the Finder, with a Finder window active, if the View menu has a Show Sidebar command, choose it. (If it says Hide Sidebar, the sidebar is already showing.) Or, when you’re in an Open or Save dialog, click the sidebar button (it’s in the dialog’s toolbar) to show and hide the sidebar.
Now, to make the best use of the sidebar, try these tips:
First, make sure it’s showing. In the Finder, with a Finder window active, if the View menu has a Show Sidebar command, choose it. (If it says Hide Sidebar, the sidebar is already showing.) Or, when you’re in an Open or Save dialog, click the sidebar
Now, to make the best use of the sidebar, try these tips:
-
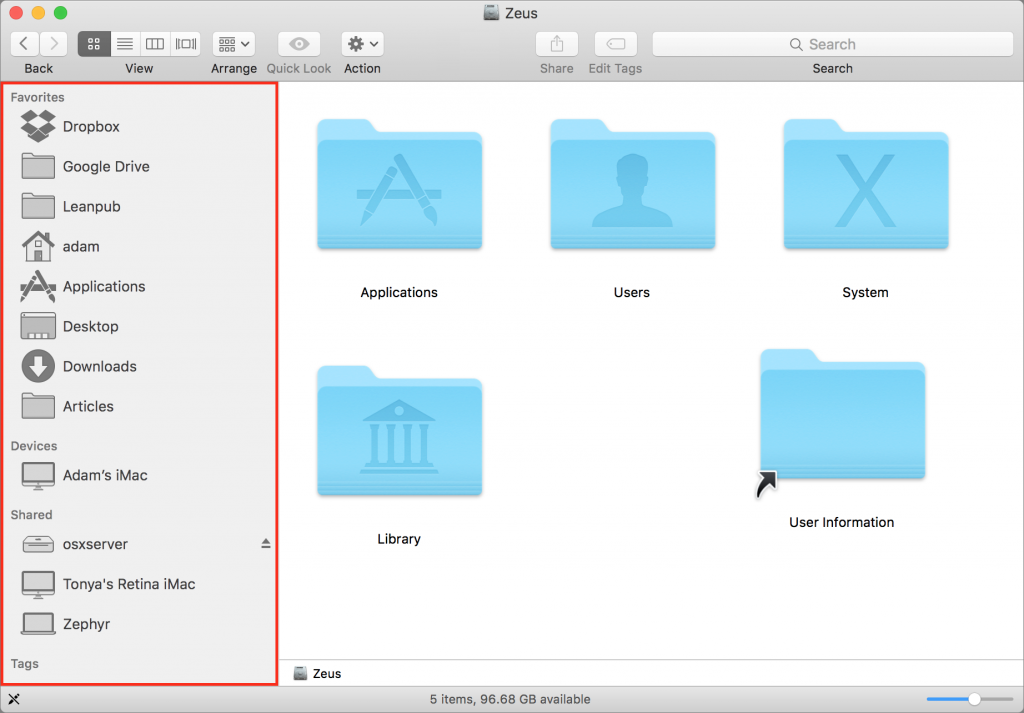
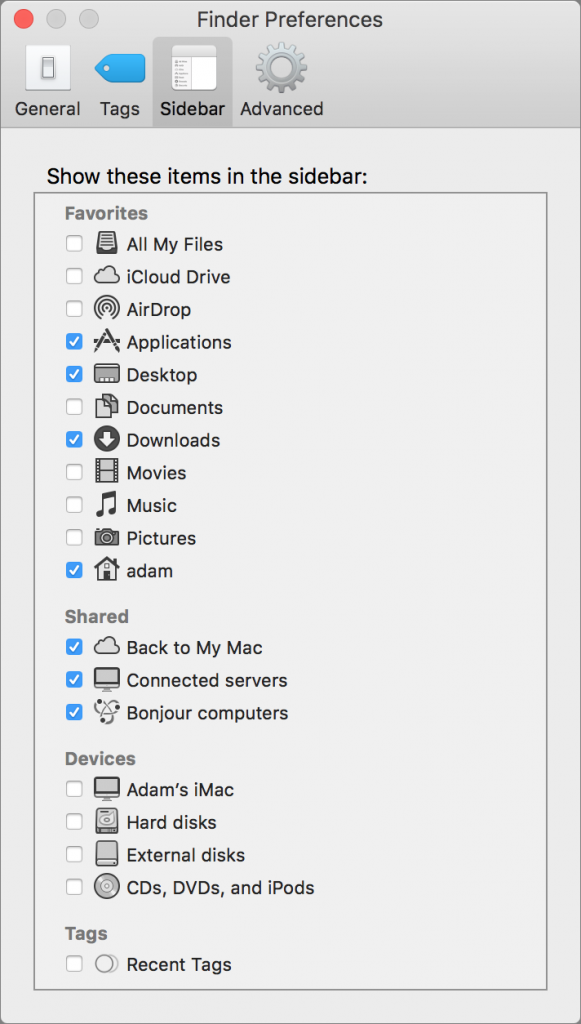 By default, the sidebar shows a lot of items you likely don’t use. Turn off anything that’s unnecessary to make the sidebar shorter and more useful. Choose Finder > Preferences > Sidebar to see four categories of sidebar items. Favorites are mostly folders, Shared items are networked computers and servers, Devices are hard drives and other storage devices, and Tags display recently used Finder tags. Be ruthless here and uncheck anything that you seldom use or don’t understand.
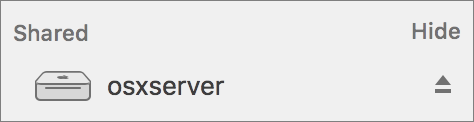
 - To make the sidebar even more manageable temporarily, hover the pointer over a category label in the sidebar and click Hide when it appears. That category’s contents disappear, making what’s still in the sidebar easier to focus on; to get them back, hover over it again and click Show.
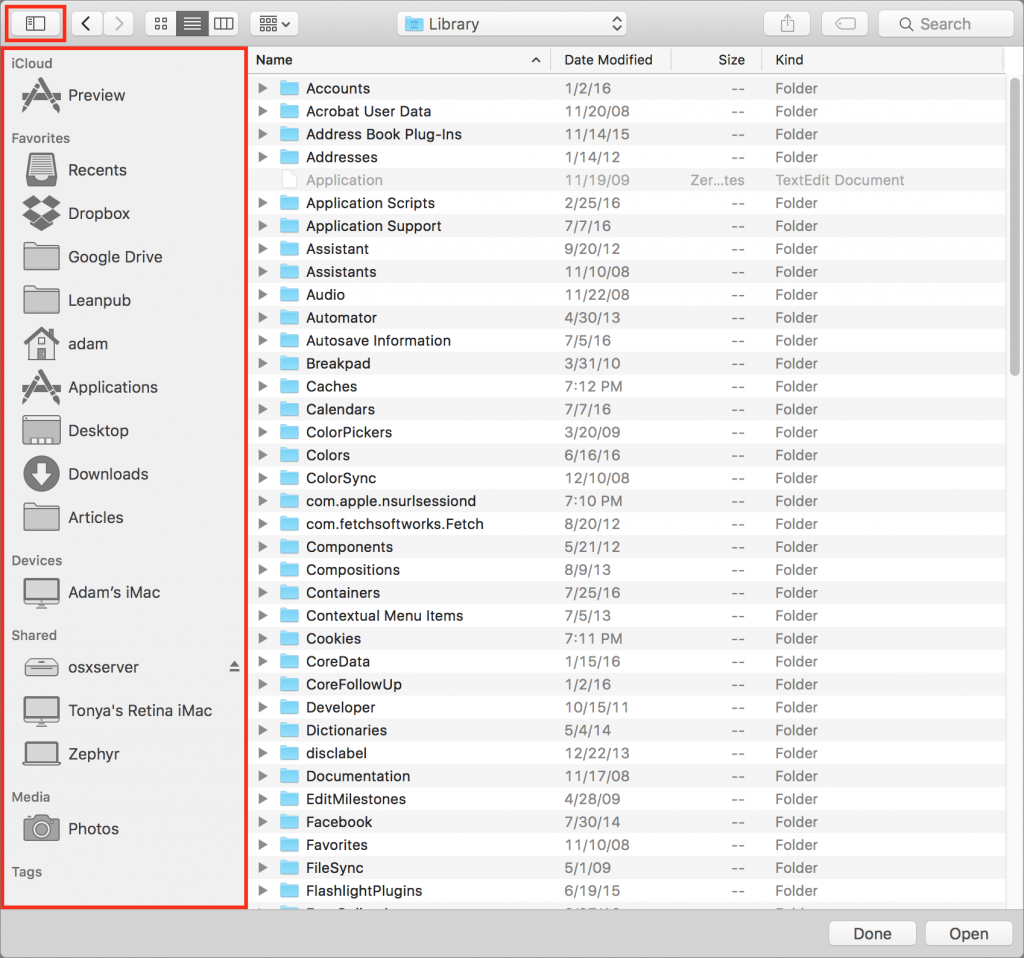
- Add your own frequently used folders to the Favorites category so you have one-click access to them in the Finder and when opening or saving files. Drag a folder from the Finder to the Favorites list to add it. The folder is still on your disk in the original location, but if you click it in the sidebar, its contents appear instantly in the Finder window. If you’re tempted to add a slew of folders to the sidebar, resist the urge. Instead, add a new folder that contains aliases to your desired folders; it’s only one more click in the Finder window’s Column view to see their contents. (To make an alias, select the folder and choose File > Make Alias; you can then move the alias to the desired location and rename it however you want.)
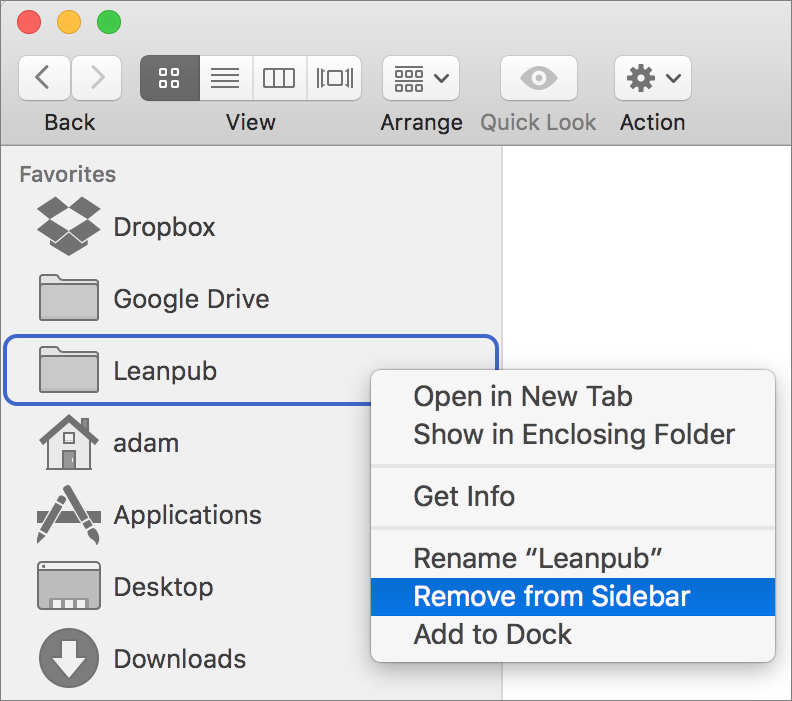
- Don’t be shy about adding and removing folders; there’s no harm in adding a folder for a few days while you’re working on a project, and then removing it when you’re done. To remove a folder, Control-click it and choose Remove from Sidebar. The folder disappears from the sidebar, but stays on your disk.
- Organize your favorites so they’re in an order that makes sense to you, whether that’s alphabetical or the most important at the top. To do this, simply drag them to rearrange.
- Once you have your sidebar set up as you want, make sure you use it! In the Finder, to open files, click a folder in the sidebar to display its contents. You can even drag files from one folder into another folder in the sidebar to move them—or Option-drag to copy them.
- When you want to open a file in an app, choose File > Open, and in the Open dialog, click sidebar items to jump directly to those folders. The same goes when saving a new file; choose File > Save and use your sidebar to navigate to the desired location.
Put these tips into play on your Mac, and you’ll be teleporting between far-flung folders in no time!
Audiotronics is the area’s only Apple Authorized Reseller plus Apple Authorized Service for Mac® computers.